I have figured, with a push and working for a good 6, 4 hour sessions, I can get all the tractor grinded and cleaned up, and then a base primer coat applied. Other than the sections on the wooden blocks and the axle stands this should mean the main body is sealed from any further rust etc. I have been doing parts as they have come off the tractor- but as there is nothing else to come off, now is the time to get the body completed.
I started, as always with the wire brush on the electric grinder. I now just use the makita battery grinder for the fine work parts and get it in the gaps that the larger brush can't reach. However the grinding of the engine block revealed a potentially shocking situation! In the photo below, there is a horizontal line starting to the right of the water tap across the block. Dan thinks this may be a cast mark- however I am concerned the block is cracked! :( The tractor was running, holding water and oil when we got it. The oil in the engine was also black with no water- so whatever this is- it doesn't seem to affect the engine operation. I'm hoping even if it is a crack it is not terminal...

Below you can see the fruits of around 3 hours of grinding, brushing and cleaning. You can also see that I took the water pump off. This is just three bolts into the engine block, underneath was loads of mud and gunk, so it was definately worth it. It gives much better access to the timing cover and allows the cleaning of the back of the water pump. I also took the oportunity to prime the pump.

The first priming coat took around an hour. The plan is that once the full first coat is done, I will go over the whole tractor with a second coat. I am applying the primer quite thinly, but making sure it has a good coverage. You can see the engine block coat below. I am also dabbing any areas on the previous coat that have thinned through due to more work going on.

My painting technique is actually quite funny. More dabbing than brushing! The trick with painting is paint an area looking at it from one direction. Then dab all the key parts to make sure the paint gets ito all the nooks and crannies. Then change position and look at the same area from a different direction, as usually there are loads of bits that haven't took the paint. more dabbing and it's all sorted!
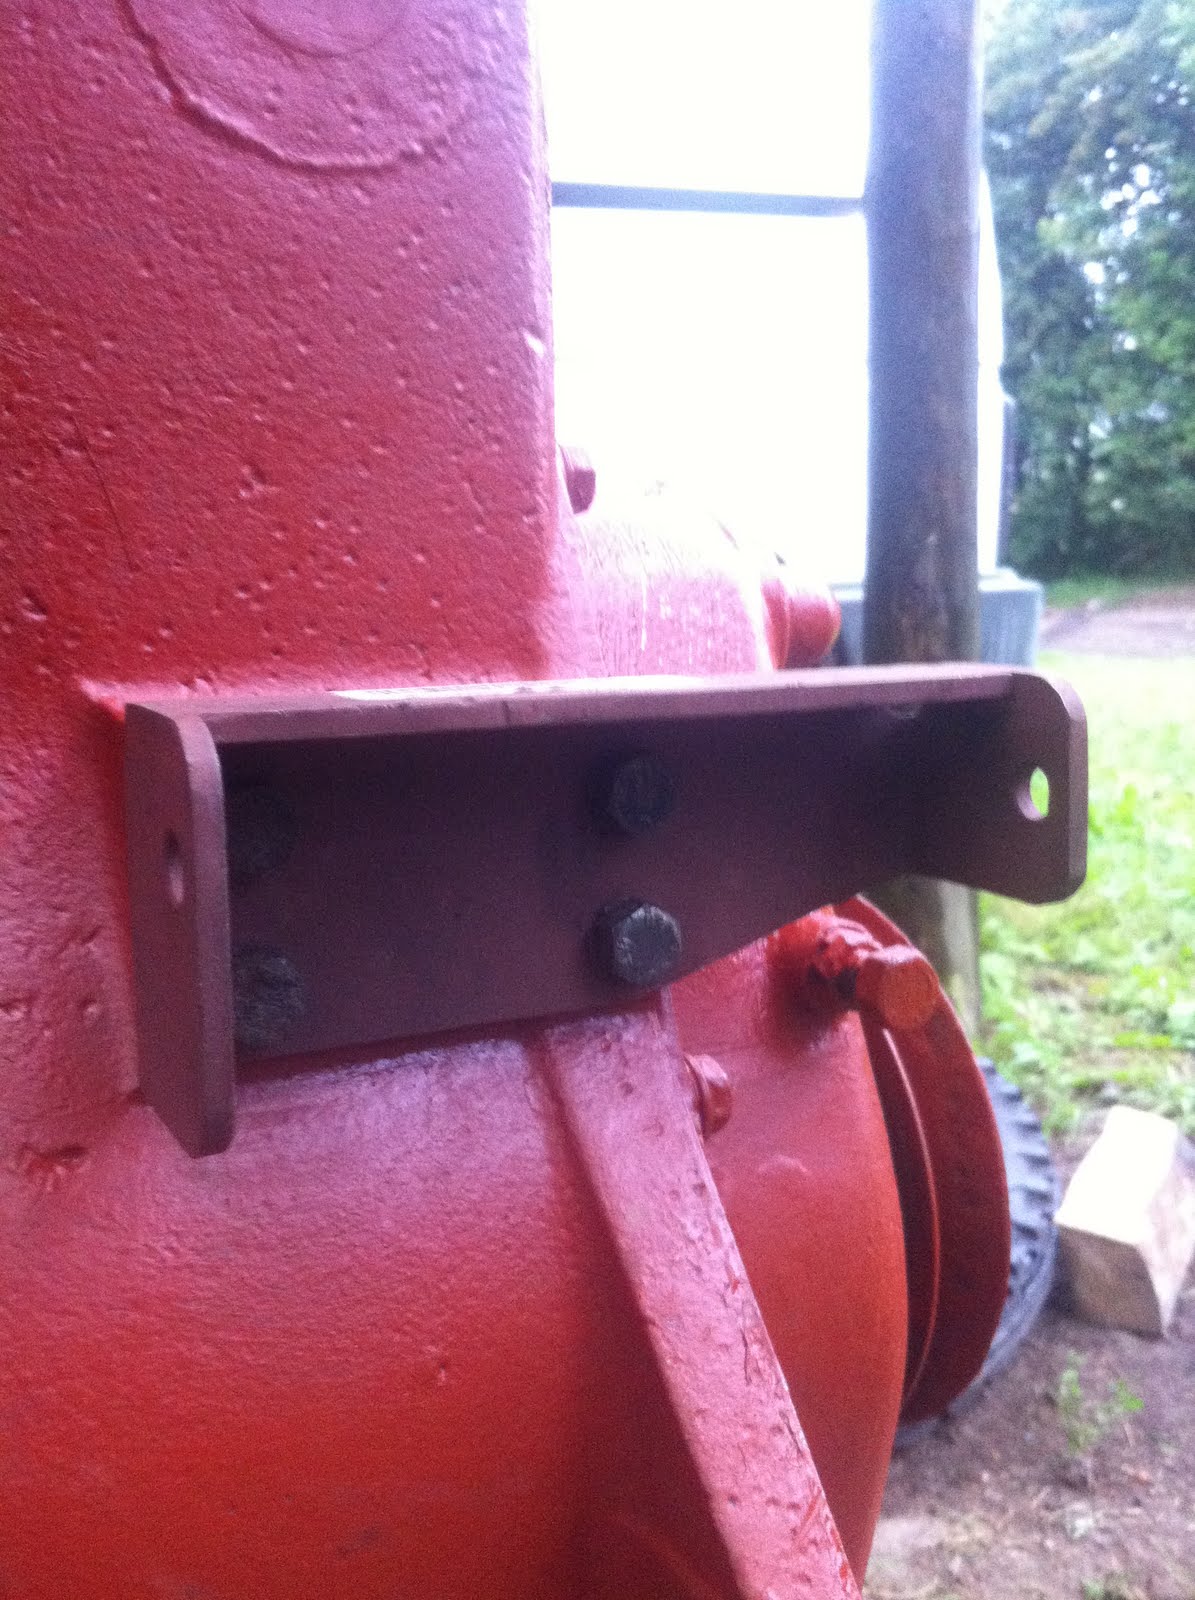
Another opportunity to put a new bit on! Quite minor, but still exciting.. well exciting for me! Maybe not so much for the reader! One of the issues when I got the tractor, was that a alternator had been gashed on. The preious owner had re-drilled the dynamo braclet to position it on the tractor. I have bought an original dynamo, but as the original bracket was mullered, I ordered a new one. So once the engine block was painted, I put the new dynamo bracket on and painted it up after taking the photograph.
At first, I was enjoying taking the tractor apart. Now I am starting to really enjoy the re-constuction, even the little parts that are going on are steps towards rebuilding and getting it working! Based on current progress, if I can get the priming completed by the end of this week- next week the rebuild we really start in earnest!
The water pump below is looking pretty cool now it is primed!

No comments:
Post a Comment