This morning I have focused on cleaning up the rear end and underneath of the tractor with the grinder and brushes. The plan was to get it all primed up.
There are two minor issues at the moment. The pin at the rear of the tractor is stuck solid and it is damaged at one end. I need to get this out and was planning to grind it out with a metal cutting blade- but then realised that it is stuck in the middle also.
Dan hasn't been here today, so I figured I would wait until Dan gets here tomorrow to advise on how best to remove it. The other issue, is the spring that holds the linkage is badly rusted and the bolts are damaged. I need to get this off to clean it up- but I cant even get the socket on it. The adjustable spanner has no chance. It does seem that where the spring connects to the tractor there is another layer of metal, this just causes more issues- so again, jobs for tomorrow are to get the pin out and the spring off! Check for the update tomorrow afternoon!
I also wanted to get the brake drums tidied up as well as making sure the PTO seal was in properly.
I had a good idea to get the PTO seal in! I put on the PTO cover and it provided a way to push the whole circle of the seal in- by tapping the outside of the cover with a small-ish hammer. I did this and now the cover can screw on top the rear of the PTO. Nice positive start!
I thought I would take some BEFORE and AFTER photographs of the rear end! Since getting the seat off, I have much better access for the grinder and cloths to clean up the nooks and crannies around the bolts and the rea mechanism. I started by taking off the hydraulic lever, it is badly corroded and am planning to find a replacement.

I also grinded back the brake drums and cleaned them up ready for priming. I have been wanting to get this done for a while- as I am keen on getting the brakes re-assembled, especially as I have fixed the seized rear left brake.

As usual, the summer weather is not helping me, by raining heavily all morning! I started early with a view to completing mid afternoon- but the rain has been so heavy. I decided to push on anyways, as if I wait for dry weather I am never going to get completed. At least it is quite warm!
I have also been using my overalls- which are brilliant. They are solid material so and keep me a lot cleaner. especially with the grinding! The rear of the tractor underneath is covered in oily mud, which makes a right mess when it comes off. There is no easy way of getting it off, other than grinding it back.
I got most of the are cleaned up in a few hours- which seems to be my limit with the grinding. The noise and vibrations get annoying after a while! So it means I can focus on a specific section and get that done properly.

it is also quite cool, that as I grind back the layers of paint, all sorts of cast stamped numbers are appearing on the tractor. I will go round the tractor and note the location and numbers down at some point to see if I can get more of a history of the build of the tractor. As you can see below the rain was absolutely pouring! Interestingly, in the below photograph you can see the vineyard on the other side of the valley- which is loving this sun-rain-sun-rain weather!
Since leaving London, I have always been quite aware of the seasons passing- I have always wanted to take a photograph of the same thing in the different seasons. So my plan is to keep showing the photo from my log-shed/tractor garage showing how the seasons change- as long as I keep working on the tractor! Plenty of summer rain so far! :( Not looking forward to the 3 foot of snow like the last 2 years.

So once I had wiped off all the dust and dirt off the surfaces, I got to work with the primer. The primer paint is going well. I give it a good shake and stir and it goes on nicely. I initially bought 10 litres, in 2* 5 litre tins. I am probably a third through of the first tin- so I am estimating 10 litres should do the whole tractor.
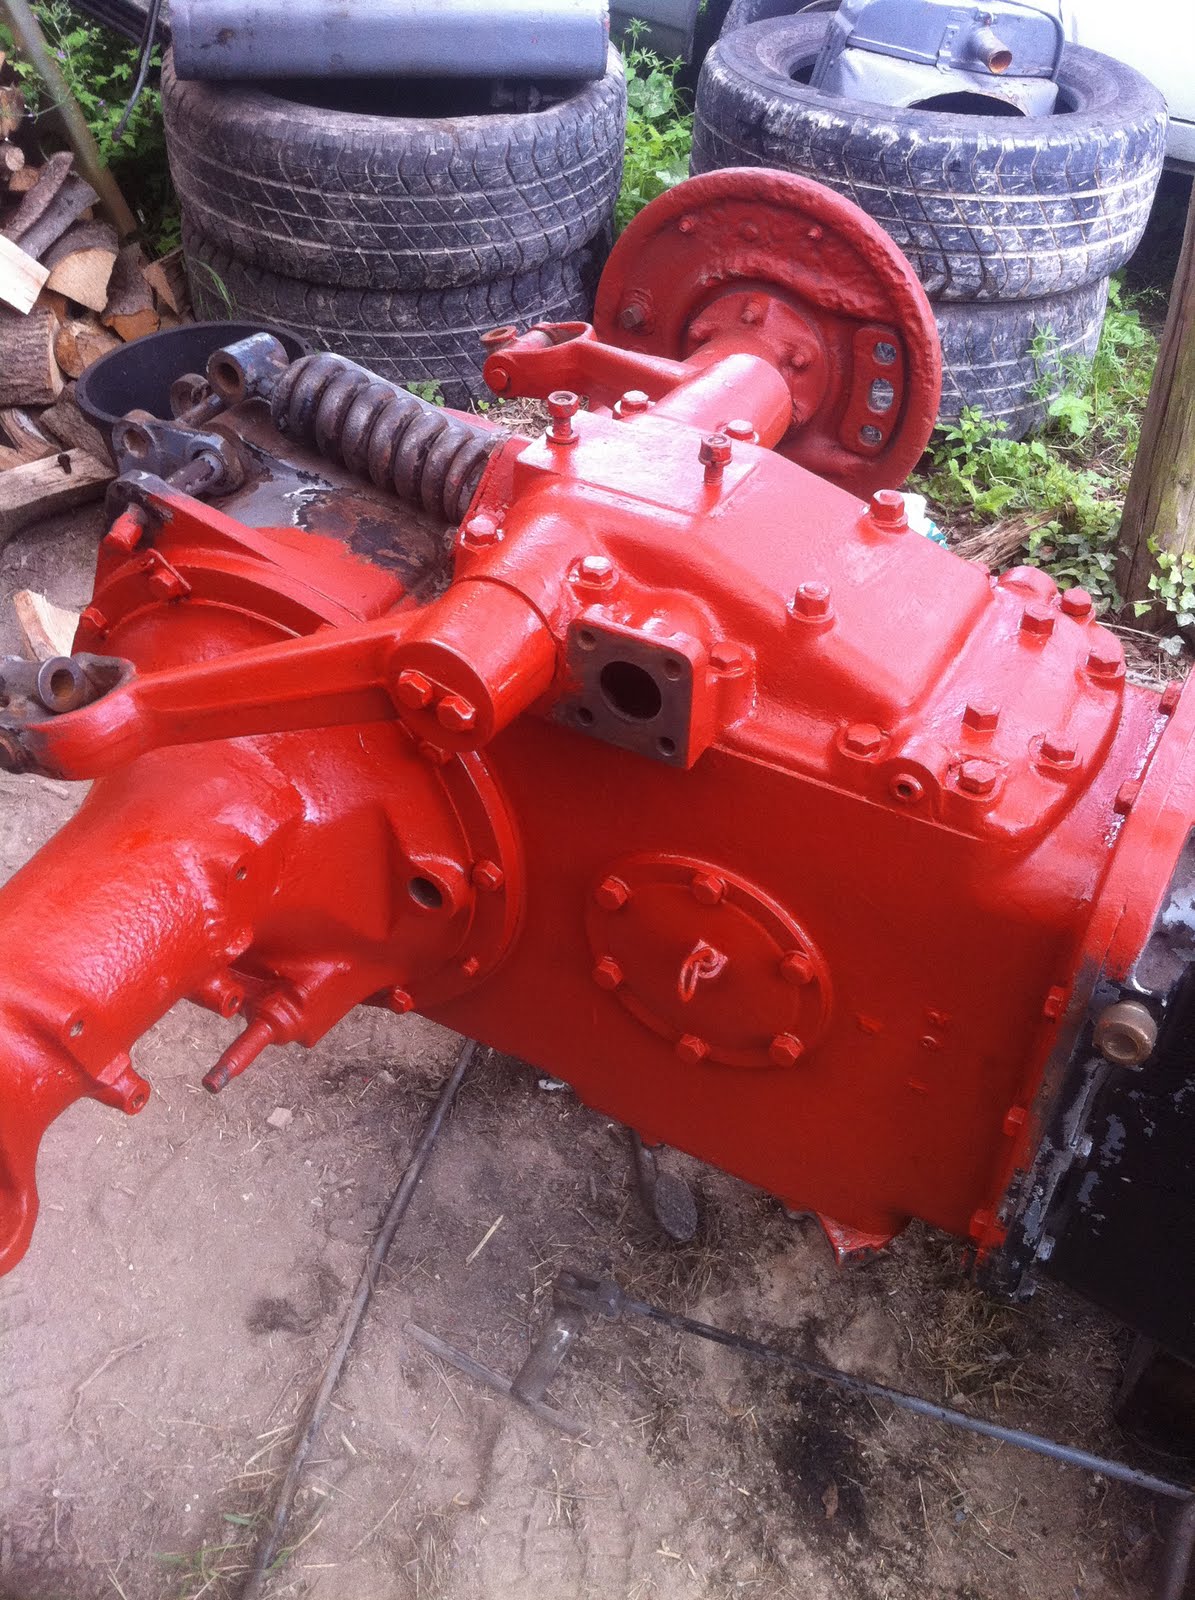
I would of preferred to get the spring and pin off before doing this section, but the damp weather really does corrode the exposed metal surface quickly, so am happy painting round the section that needs work, the recovering once complete.
You can see the completed paint below. It just shows, that once you get a single even colour on an object, you get a true idea of its shape. The gray/black/dirt colour previously is like a camouflage. The colour mess doesn't give you an idea of the true shape of the tractor! If you haven't read previous posts- the red oxide primer is a protective/rust eating paint layer. Once all the tractor and parts are primed, I will spray the whole tractor in fergie gray.
I also slapped some primer on the brake drums. I will clean up the surface area that does on to the wheel- but I wanted to make sure it was totally covered.

I have ready some horror stories about cracked tractor bodies. It has been a niggling worry in my mind about the milky oil in the back of the tractor. However during the cleaning up, I have found no obvious problems. Does anyone know where they usually go, or where to look top see if there is any cracking? I have looked around the welds and sections and there is nothing that would suggest it is cracked. I am hoping the milky oil was due to the damaged seals etc in the PTO and around the seat area.
You can also see the pitting, in the rear wheel hub on this side. It is pretty bad, but I see it as character! I am really focusing now on keeping cost down and re-using where required. Based on the condition of the nuts and bolts I stand little chance of getting these off cleanly, without cutting them.
I did notice that there was a layer of rusted metal on top of the flat section that connects to the wheel guard. The grinder could not remove it, and I thought it was a rusted layer. However, I got the hammer and chisel to it, and managed to chip it off leaving a nice flat surface. I guess it is a rusted layer fused to the axle by the pressure of the retaining bolts. I'm glad to put this effort in to clean it up. Even though it will NEVER be seen, it is important to me that I get this right.

The rain was coming down heavy as I finished off. So I retreated, and returned an hour later to see if there was any dripping rain on the paint. Fortunately not, and the paint is drying nicely. I have so say that I am really pleased with the outcome today! If I can get the whole tractor back to this standard, I will be pleased. It isn't perfect, but it's good- and it will have another 50 years of life in it!

So, jobs for tomorrow:
-- Remove the rear pin
-- Remove the spring
-- Prepare and prime the brake linkages
-- Prepare and prime the PTO cover
-- Prepare and prime the wheel hubs
-- Prime the underneath section
-- Prepare and prime the seat connection and seat
Anytime I feel like it, I am going to have a go at grinding back the rear wheels and prime them up.
-- Order a hydraulic lever
-- Rebuild the brakes and put the drums back on
...
ahh.... the list is never ending
maybe jobs for the next few weeks/months! :) Do not underestimate the amount of work required!
..and we still need to test the clutch, somehow.
No comments:
Post a Comment