Sunday 24 July 2011

progress with new parts

So, after getting the plough together and a breakfast cup of tea, Dan turned up and we turned our attention to seeing if we could build some of the new parts on to the tractor.

Below is a picture of the new plough, which is now a graden feature- which soon will be a functional device on the tractor!


The first job was to rebuild the dash area. I had managed to get a new dash connection bar from Mark- I grinded this back and then disconnected the steering column area. The base dash area with the bonnet catches now is fully operational! The catches work perfectly- I cleaned this up and connected it with new bolts.

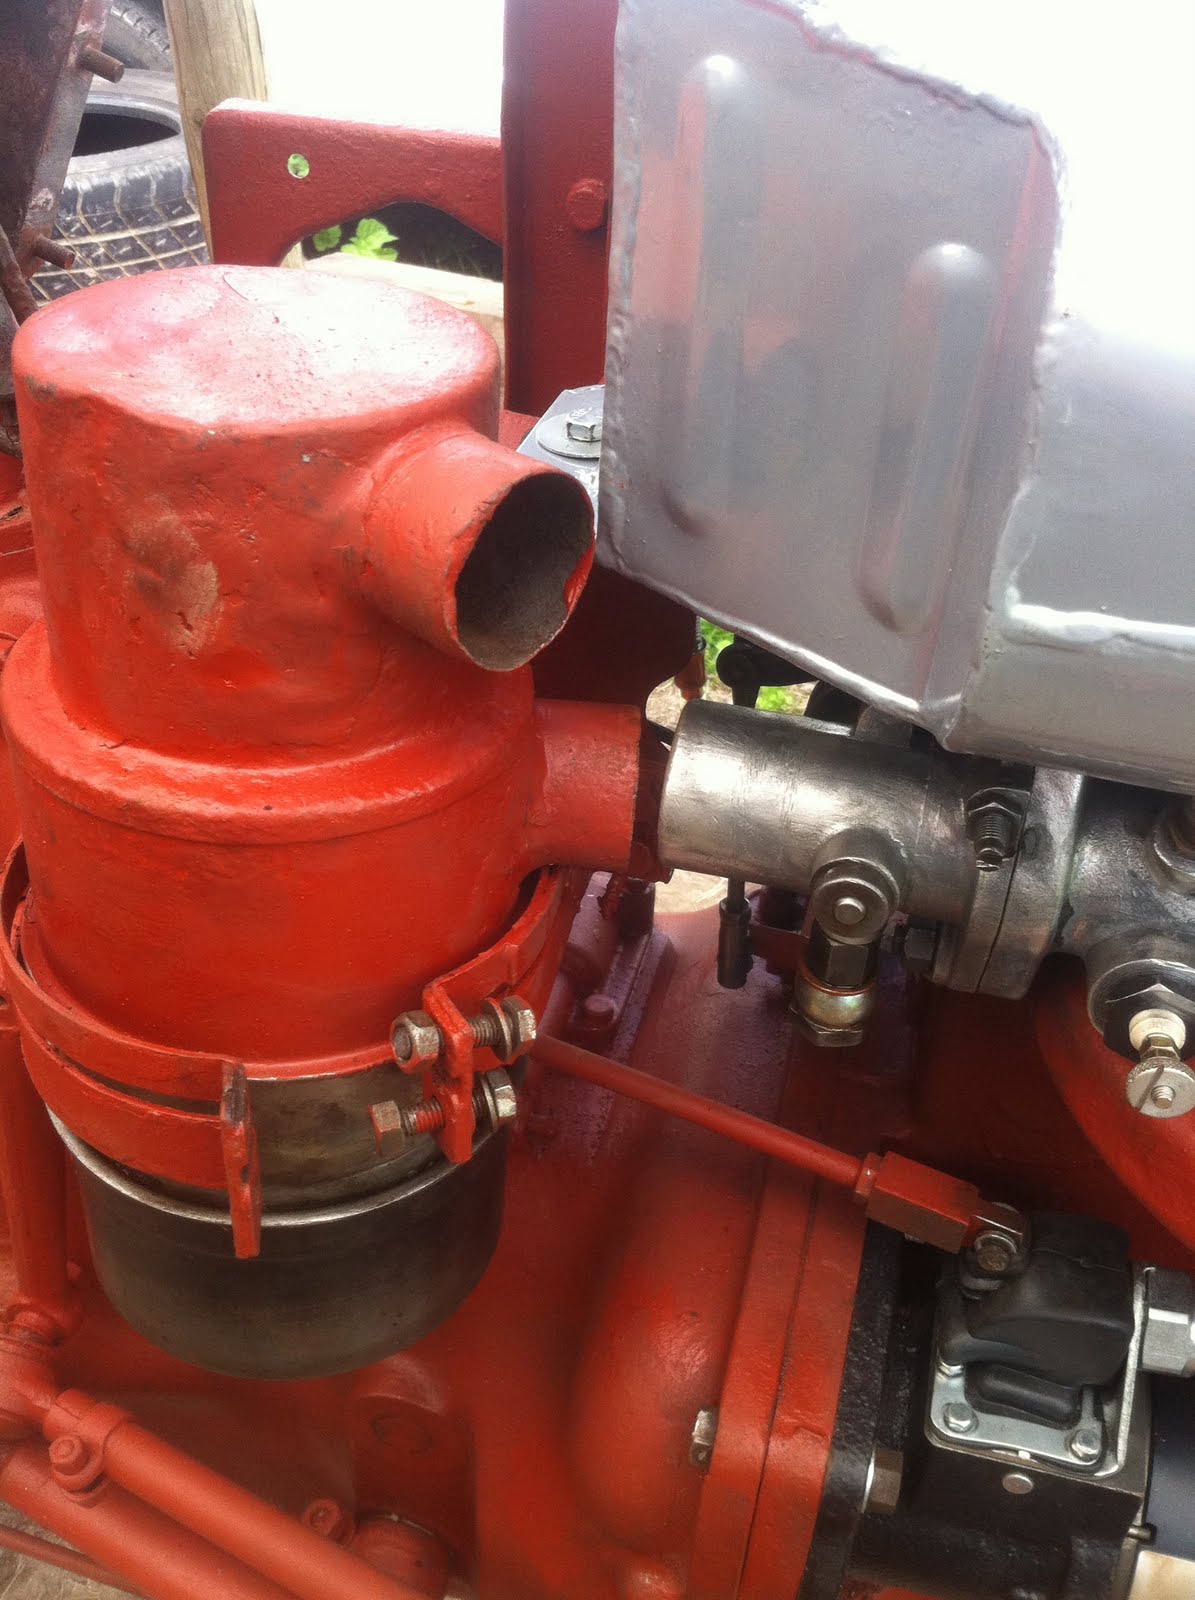
I also connected the auxiliary fuel tank bracket- i have to say that it is starting to be a very tight fit between the fuel tank and the dash area! I also grinded and cleaned up the second fuel filter housing, this can be seen below....


You can see below the dash area is looking a lot cleaner and tidier- the new throttle connection looks great. I have noticed that the dash only has two holes for meters, and I am wondering what the original TEF20 tractor actually had?

- Ammeter
- Oil pressure/temperature
- Water temperature


I have also tested the positioning for the ki-gass tank, and you can also see the ki-gass pump with the new part that i got from Mark. This is a twist/ratchet switch that is connected to the out section on the ki-gass pipe. When I was at Mark's we discovered that this is actually the ki-gass fuel filter!

This is now connected and I am looking at sourcing pipes, for the ki-gass system.


We started looking at the wiring loom, but eventually gave up- I can't find a decent/clear diagram and the agriline loom is useless. There is no diagram and loads of extra cables. I emailed agriline and they didn't have any instructions- very disappointing. Dan has took the new and old loom to the agricultural engineers to see if they can bring any sense to it!

In the below photo, you can also see the aux fuel tank- which goes in, but is a very tight fit and has loads of holes and connections which I have no idea where they connect to...


The new dash area requires priming, which I will get done on the next session- I just wanted to make sure it was all together as required, before putting any paint on. I have realised that the throttle linkage is quite rusted- I may look for a new one on ebay, as it keeps popping out when we put the full throttle position on. The new catches are great,my old dash had these completely rotten and jammed, however the working catches are great- and tested! Then pull on to a tubular area on the bonnet and hold the tractor together, which I assume is great for safety.


The final part is the connection of the fuel filters- again Mark came to the rescue with a second fuel filter housing. I need to work out the way it all connects together and may need some extra double hole bolts to connect into the new filter housing- but at least the filters are now in place.

On connecting the oil pressure meter, I have also realised that I need a hollow bolt for that also!


So, good progress- but nervous about the electrical situation at the moment as we don't have a clear solution. I am hoping Dan can speak to the guys who know this week and we look at getting it put together by the end of the week.

I can then look at getting the tractor started.

I have also took out the sump filter and sunk it in a diesel bath, to clean it up. The sump has also been cleaned of all the gunge and dirt in it. We are looking at getting the new tractor oil this week to fill the engine. Once the filter is cleaned up, it can go back together with a new gasket.

I need the following:

-- A clear understanding of the electrics
-- New battery cables

-- Fuel filter connection bolts/parts
-- Aux fuel tank connection parts
-- Ki-gass pipes
-- Electric loom connection

The parts have really helped, and I have made good progress- planning to get it all primed this week, and the electrical loom put on to the tractor. That will be a great position- then it is oil, water and fuel and press the go button!

Ferguson single blade plough

The last time, I nipped out to buy some motorcycle parts- I ended up with a tractor...

This time, I nipped up to Boston, to get some tractor parts-I ended up with a  PLOUGH! I was laughing when I was driving back down the motorway from Mark's. Every time I looked back into the back of the car, I started laughing!

When I was getting parts at Mark's, I saw the single blade plough, and I couldn't resist- it was in great condition- and as Harry Ferguson said, a tractor is no good without and implement. Hence the importance of the three-point linkage in changing agricultural methods.

I'm very happy- it's awesome. I reconstructed it when I got home and it looks great. Dan was well impressed! :)

Dan and I rebuilt the plough this morning, you can see the parts below in the picture. To give you an idea, a broken down plough will go in the back on any reasonably sized 4x4.


Below is the adjustment arm:


Reconnected the plough blade and the main chassis. Two big bolts attach the blade to the main metal arm. This connects easily, but the weight of the main part is difficult to line up with the blade. The best way, is to lay the blade on its side, then line up the heavy metal part. It means the bolts can be lined up, with only one person rebuilding the plough.


Below, the original Ferguson sign is attached to the side of the plough:


I knew there would be a use for my Plough Spanner!


I'm really looking forward to backing the tractor up to the gate, and attaching the plough ready for Henley show! I think that may be a video moment!

Thank you!

Firstly, before I post some serious progression, I would like to Thank Mark up in Boston...

I spent some time up at my parents and my dad, found the FOFH market place on his ipad! We stumbled on a guy up in Boston in Lincolnshire - after a few calls I decided to take the 3 hour journey up there to get a few bits..

Well, I was shocked! Mark is a great guy, with a treasure chest of Ferguson parts and some great tractors! He even has the holy grail - ki-gass pipes! To meet someone with genuine passion for tractors, and have a good chat and get the bits I needed was awesome...

I would advise anyone looking for parts/advice etc to get in contact with him...

http://www.fofh.co.uk/market2.htm

He is on the FOFH market place, and trust me- well worth the trip up the A1..

Thank you Mark, and no doubt I will be up again!

Here is a picture on one of Mark's tractors -seriously nice!


Ian

Sunday 17 July 2011

TEF20 Wiring diagram 12v

After some web searching I have found the wiring diagram for the tractor.

It seems the original tractors had two 6V batteries- one ether side of the seat. I am modernising on to a 12v system- I have replaced both the starter and dynamo for 12v devices. The loom is in place over the tractor, just need to work out which parts connect in!


This looks fairly straight forward, however I am sure translating it to real life will be slightly more tricky!

I will post pictures as I get it connected up. I am using the agriline loom and the agriline control box.

Sunday 10 July 2011

..motivated!

When I got back from Woodcote, the weather was great- so I decided to beat some of the problems that had stopped my progress!

Out comes the grinding disk!

I cut off the top of the seized bolt on the back left pedal, then hammered it through. I took the pedal off and copper greased the metal pedal connection. Once cleaned upm I reconnected and put a new bolt and nut in place. I lined the pedal up with the other side.


Once sorted, the battery platform was bolted back on. Now I can get a battery on and started putting the electricity loom on. I also go the seat bolt and washer on and now have the seat bolted on correctly- another little job that needed to be completed.


One of the fual housings off ebay came through- I put a new filter in there and have bolted on to the tractor. I need another one of these and then get them correctly connected up to the fuel tanks. I have the aux tank ready to go on, but need a bracket to get it connected properly.

This isn't going to stop me getting the tractor started though, on the main tank and one filter.


I got the air filter connected to the manifold.


Oh yeah! I also grinded the bolts and cleaned up the hydraulic lever. I connected it and painted it up. It needs the lever guide putting on correctly, but I just wanted to get the lever back on and operational.


The rear sectoin is really starting to look the business!


I practicised putting the bonnent on, it fits nicely.

I need to totally take off the paint on the bonnet- I will use paint stripper for this, then use a spray on primer.

I also need to order the new front T-Section and grille, as the rust and damage is very bad on the front end.


A good afternoon, fixing some little issues.

To do:

-- Fuel line between main fuel tank and filter
-- Replacement filter to fuel pump fuel line
-- Get the fuel pump timing lines lined up and tightened

Once complete - the fuel system is complete for the starting testing! Strategically, i also need to:

-- Get the Aux fuel tank mounted
-- Coonect the main and Aux fuel tanks
-- Add the second fuel filter and connect together
-- Connect the Aux fuel tank tp the filter
-- Mount the ki-gass fuel tank and connect the fuel lines

In terms of the controls:

-- Mount the dashboard
-- Connect the wiring loom up
-- Connect the controller box and controls on the dash

Once th fuel system and electrics are connected, a starting test can be done to see if the engine will start and the drive train/clutch are operational as expected. Once tested- then it is removing parts to do the grey spray, prior to rebuilding properly.

Woodcote Rally 2011

Had a great day today at the Woodcote Steam rally and beer festival.

Saw some great vehicles and some amazing tractors- I need to get mine entered for next year. I really enjoyed the atmosphere.. The TE20's weren't so good to be honest, and there was only 2 TEF20 Fergusons, most were TVO tractors. The few diesels I looked at, had the ki-gass and aux tanks missing! There seems to be a general movement, where people just get them running and leave them as they found them!

I have to say, dome of the Fordson and other makes seem to have a much more passionate following!

Photos from the day:


A nice finger mower structure on the below Massey ferguson:


I believe the below is a single cylinder Lanz tractor!


Awesome, Scammel truck! Started its life as a low loader...


This was probably the best restored tractor at the show, real attention to detail!


Nothing runs like a Deere!


One of the Fergie's! Nice lights...


A Caterpillar tracked tractor:


A wide track, Fergie.


I really liked this one, real cut down chassis, basically just a propulsion shaft to the rear axle.


The wide track Fergie with the crop sprayer:


It was a good show, based on the tractors I have seen, my restoration is definately at the top end! :)

This has motivated me and spurred me on!

Wednesday 6 July 2011

bits and pieces

I have received the tubing for the air filter/manifold... so I can get that connected up at the weekend. I have also managed to 'win' and fuel filter housing on ebay- so am planning to get the fuel system together running on one fuel filter to get it tested.. I am scouring the web for another filter at the moment!

So this weekend, I can get the seat on, then get the fuel filter prepared and connected. I may look to run some temporary tubing for the fuel- to see if we can get the tractor running.

I have had a look at the loom, and think I have an idea where it connects- so will see how we go!

Plan of action:

- Hack saw off the bolt on the left brake pedal and remove and re-align so I can get the battery platform in place.

- Connect the air filter housing

- Clean up and connect the fuel filter housing


Possibly have a go at starting to bolt on the loom to the dynamo, starter motor, heating coil etc..

I still need to sort the dashboard out, and get that connected...

Monday 4 July 2011

..some progress

I have managed to use my chainsaw sharpening file, to open up the hole on the seat spring and get the larger seat bolt connected correctly.

I have also ordered some hosing from Silver fox which should mean we can connect the air filter to the manifold.

I have also done some research on the loom, and have found a 12v wiring diagram- its just that the cable colours don't match the agriline loom! :s

Other issues/solutions are pending!

Saturday 2 July 2011

slow saturday

Not sure why- maybe its the heat or the early start, but struggled to get motivated today. We have completed a lot of little jobs, but there are a lot of little issues at the moment.

--The rear left brake pedal is totally seized so I can't loosen it to put the battery case on.

--The hydraulic lever is rotten, and I have bought replacement parts- but the bolts are rusted together so can't get the old part off.

--The dash board wont split into two sections again due to a rusted bolt.

--The fuel line from the pump has snapped and still don't have a replacement, and doubt the replacement is correct.

--The new seat bolt is too big for the hole in the seat spring!

So, I can't clean up the dash and start rebuilding it, I can't get the battery platform on, and I can't rebuild and prime the hydraulic lever.

I need to complete the fuel system, but there are two key stoppers here:

--no fuel filter housings
--fuel line broken
--no auxiliary brackets
--probably missing fuel lines somewhere.
--need to line up the fuel pump

I also need to somehow work out the electrical system, I have a loom- but no idea what goes where. I also have the control box, again, I have no idea how the loon connects to this, or what it really controls...

So we are close to getting the tractor running, but the small issues are quite significant!

What we did do this morning:

It turns out that aftermarket parts don't quite fit! The radiator doesn't seem tall enough so the pipe at the top kinks. We have sorted this by mounting it higher, which is starting to look really good. I am planning to shorten one of the hoses to prevent the kinking at the corner. You can see this in the picture below. So we spent some time finishing this off and getting the cooling systems complete. The large bolts holding the radiator in place will be cut short at the base.


We also spent some time filling the holes in the air cleaner and priming it up- while Dan was finishing the priming I cleaned up the main dashboard mount and primed it- once dried I attached it to the tractor allowing us to connect the fuel tank.

I have also connected the cross shaft to both the throttle venturi and the idle lever on the fuel pump. It all works nicely, however I am sure there will be a number of adjustments that are required.

I have replaced the throttle lever with a shiny new one, however as always the sting in the tail is that the throttle doesn't have the eye connector to the throttle linkage. SO ANNOYING! I need to work out where to get one from...

The air cleaner fits on nicely now as the dash part holds it on to the side of the tractor. The pre-cleaner can now be connected.


There is no hose to connect the air cleaner to the inlet manifold, we need to order one of these from somewhere as again, with these things you always seem to trip up at the last hurdle!


So its been a good day, but there are loads of little annoying issues at the moment- with no obvious solutions.

Either way- focus is on building the fuel system, and the electrical system.